
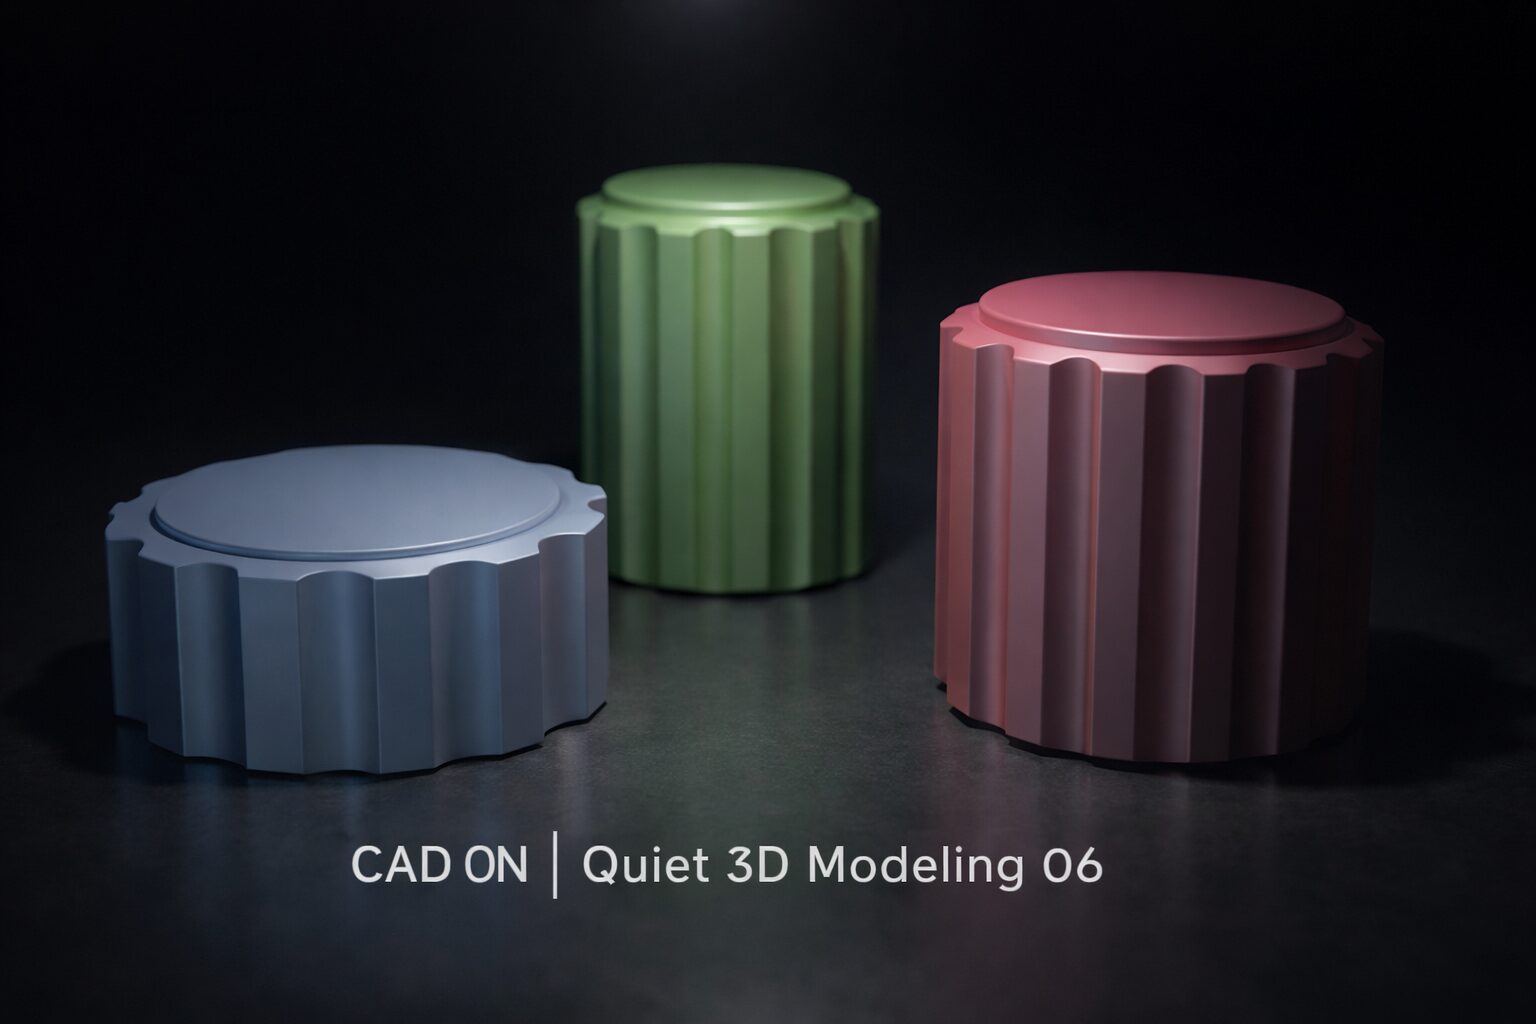
This is the sixth tutorial in the CAD ON Quiet 3D Modeling series.
Quiet 3D Modeling 06 focuses on constructing a mechanical grip knob using controlled CAD workflows in both Fusion 360 and Blender.
This tutorial demonstrates how the same mechanical part can be modeled using two different approaches while maintaining precise edge treatment, clean geometry, and a calm, systematic modeling flow suitable for mechanical components.
Blender Version — Tutorial Focus
- Extrude Faces Along Normals for controlled thickness
- Symmetric movement for precise shape adjustment
- Scaling faces with Individual Origins (Shift + Z)
- Circular edge control using To Sphere (Shift + Alt + S)
- Clean hollow forms with Extrude Manifold
- Grid-based accurate hard-surface modeling
- Quiet and systematic workflow for mechanical parts
CAD ON Quiet 3D Modeling シリーズの第6回チュートリアルです。
Quiet 3D Modeling 06 では、Fusion 360 と Blender の両方を使用し、同一のメカニカルグリップノブを異なるアプローチで構築します。
エッジ処理の精度、クリーンな形状構成、そして落ち着いた制作フローを維持しながら、機械部品に適したモデリング技術を解説します。
Blender版 — チュートリアルのポイント
- Extrude Faces Along Normals を使った厚み調整
- 対称移動による精密な形状コントロール
- Individual Origins を利用したスケール操作(Shift + Z)
- To Sphere(Shift + Alt + S)による円形エッジ制御
- Extrude Manifold による中空構造の作成
- グリッド基準の正確なハードサーフェスモデリング
- 静かで体系的な制作ワークフロー
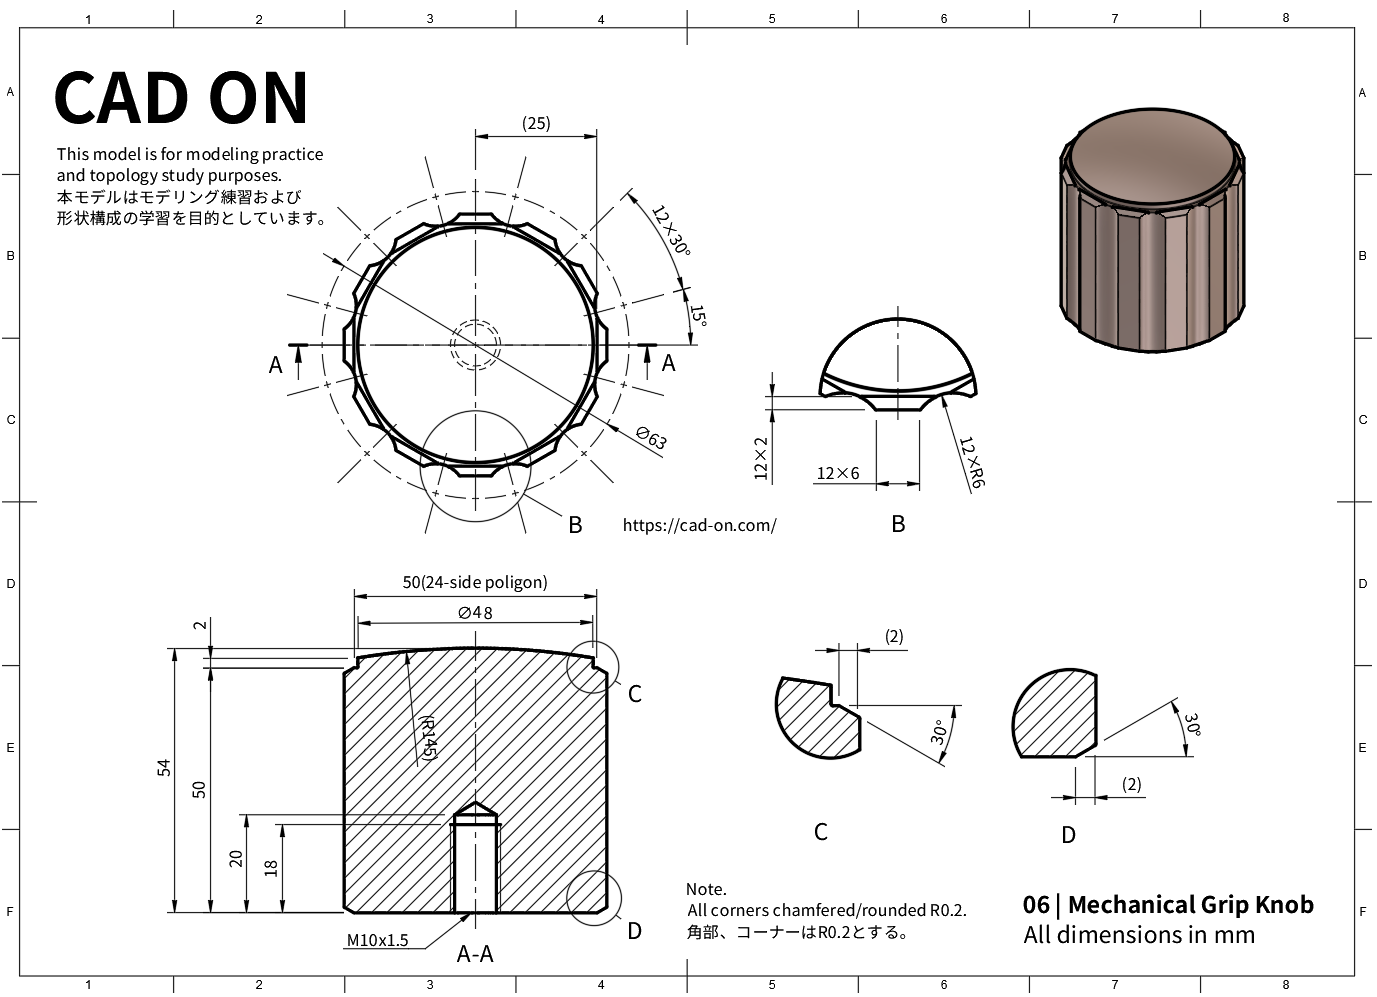
Drawing
Tutorial – Youtube
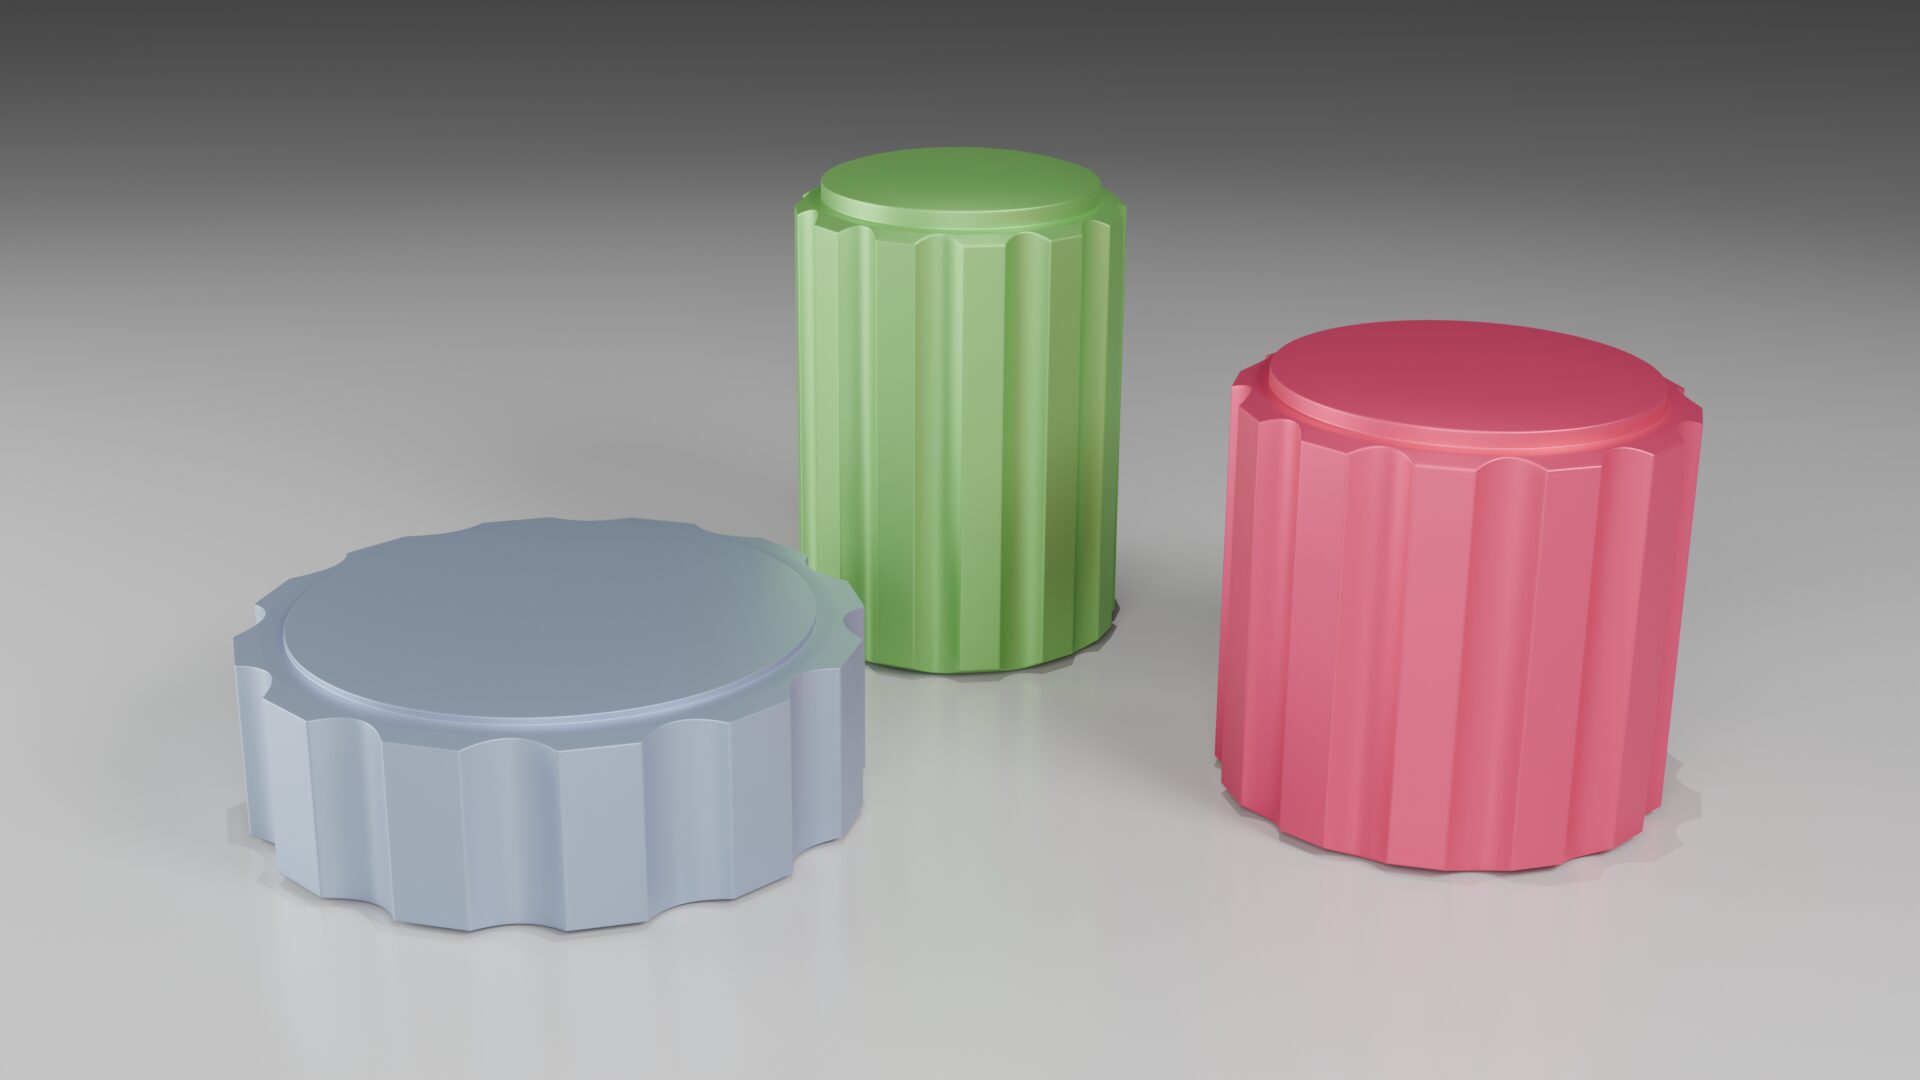
Fusion 360
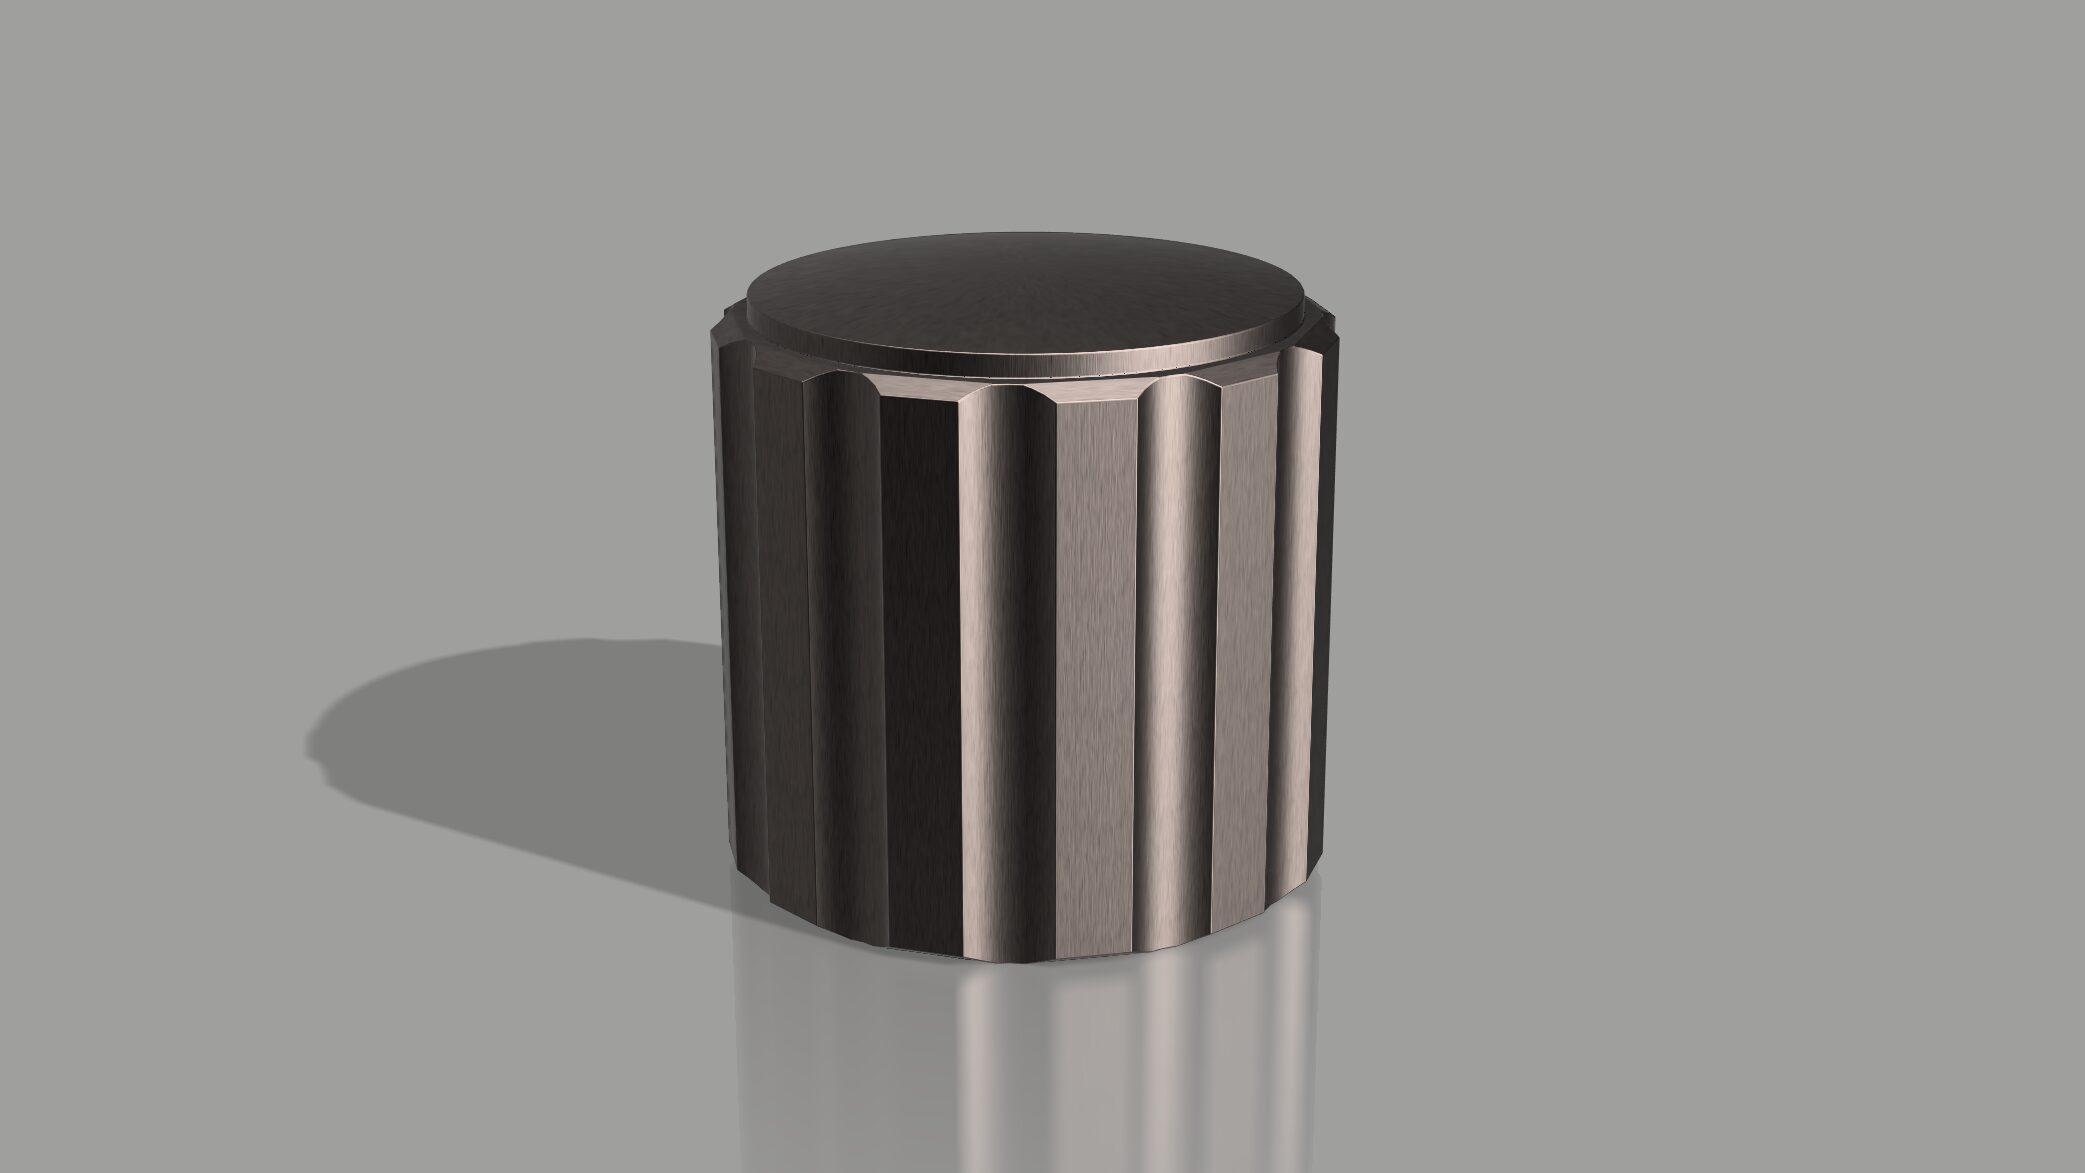
Blender
Blender Modeling Flow
This section summarizes the Blender modeling workflow used in Quiet 3D Modeling 06.
本セクションでは、Quiet 3D Modeling 06 における Blender でのモデリング工程をまとめています。
▶ Base Shape Setup
- Add Cylinder
- Vertices: 24
- Radius: 0.252
- Depth: 0.5
- Rotate on Z-axis
- Rotate Z: 7.5°
- Adjust overall scale.
▶ Creating the Outer Flutes
- Extrude Faces Along Normals
- Offset: 0.02
- Move Extruded Faces (Symmetric)
- Z-axis: −0.01
- Select recessed side faces
- Use front view
- Use checker deselect to select full face rows.
- Scale Faces Individually
- Shift + Z
- Scale: 0.5
- Insert two Loop Cuts along the extruded area.
▶ Top & Bottom Refinement
- Inset Top and Bottom Faces
- Inset: 0.02
- Circularize inset faces
- Shift + Alt + S → 1
- Extrude top face upward
- Grid move: 2
- Add three edge loops inside the inset region.
- Shape the top curvature
- Move vertices on Z-axis: 2 grid units
▶ Inner Hole Creation
- Add Circle on bottom face
- Radius: 0.05
- Create hollow interior
- Extrude Manifold → −0.2
- Move bottom tip vertices upward
- Z-axis: 2 grid units
▶ Edge Treatment & Chamfers
- Bevel protruding corners
- Segments: 2
- Apply Merge by Distance to clean topology.
- Rotate entire model
- Rotate Z: 15°
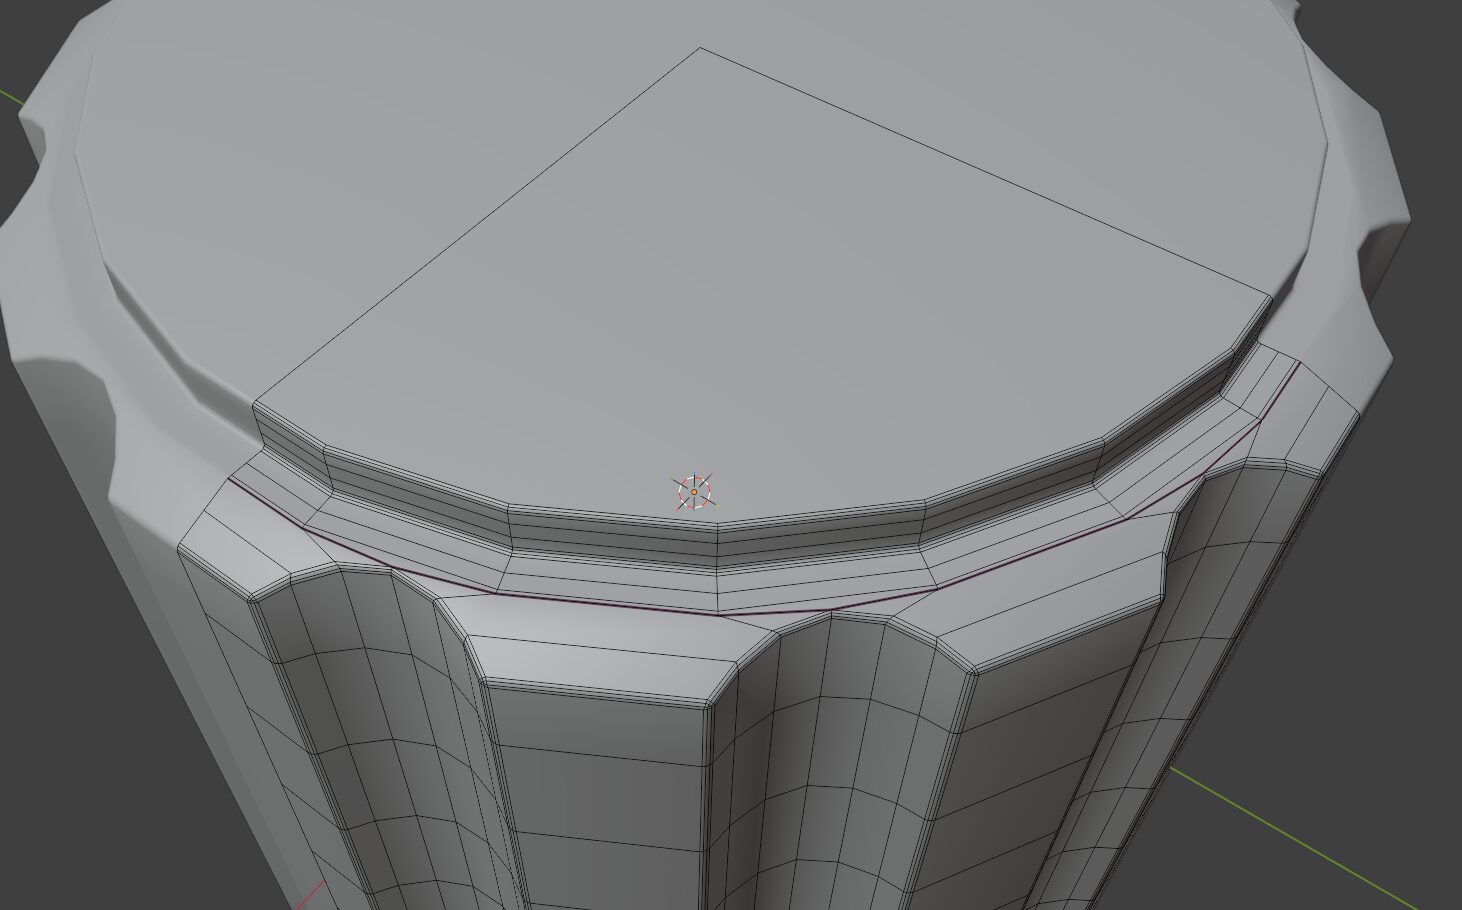
▶ Topology Cleanup
- Add vertical and horizontal loop cuts on the top and bottom.
- Delete faces leaving quarter sections.
- Rebuild extrusion topology cleanly.
- Apply Mirror modifier.
- Delete temporary loop cuts used for construction.
▶ Final Edge Control
- Select edges → Bevel
- Segments: 3
- Radius: 0.002
- Apply Edge Crease to remaining edges
- Value: 0.05
▶ Subdivision & Shading
- Apply Subdivision Surface modifier
- Enable Shade Auto Smooth
▶ ベース形状の作成
- シリンダーを追加
- 頂点数:24
- 半径:0.252
- 高さ:0.5
- Z軸回転
- Rotate Z:7.5°
- 全体スケールを調整します。
▶ 外周フルート(溝形状)の作成
- Extrude Faces Along Normals
- オフセット:0.02
- 押し出した面を対称移動
- Z方向:−0.01
- 側面の凹んだフェイスを選択
- 正面ビュー
- Checker Deselect を有効にして列選択。
- Individual Origins でスケール
- Shift + Z
- スケール:0.5
- ループカットを2本追加。
▶ 上下面の整形
- 上下面をインセット
- Inset:0.02
- インセット面を円形化
- Shift + Alt + S → 1
- 上面を押し出し
- Grid移動:2
- インセット部分にループを3本追加。
- 上面の曲面を形成
- 頂点をZ方向へ 2グリッド 移動。
▶ 内部穴の作成
- 下面に円を追加
- 半径:0.05
- 中空形状を作成
- Extrude Manifold → −0.2
- 下面先端の頂点を上方向へ移動
- Z方向:2グリッド
▶ エッジ処理と面取り
- 突出部コーナーをベベル
- Segments:2
- Merge by Distance を実行してトポロジーを整理。
- モデル全体を回転
- Rotate Z:15°
▶ トポロジー整理
- 上下面に縦横方向のループカットを追加。
- 1/4 を残してフェイスを削除。
- 突出部のトポロジーを整理。
- Mirror モディファイアを適用。
- 作業用ループカットを削除。
▶ 最終エッジ調整
- コーナーエッジを選択してベベル
- Segments:3
- Radius:0.002
- その他のエッジに Edge Crease を設定
- 値:0.05
▶ サブディビジョンとシェーディング
- Subdivision Surface を適用
- Shade Auto Smooth を有効化
Quiet Modeling
There are two paths.
One already made — and one you create.
道は二つある。
すでにある道と、自ら作る道。
Comment