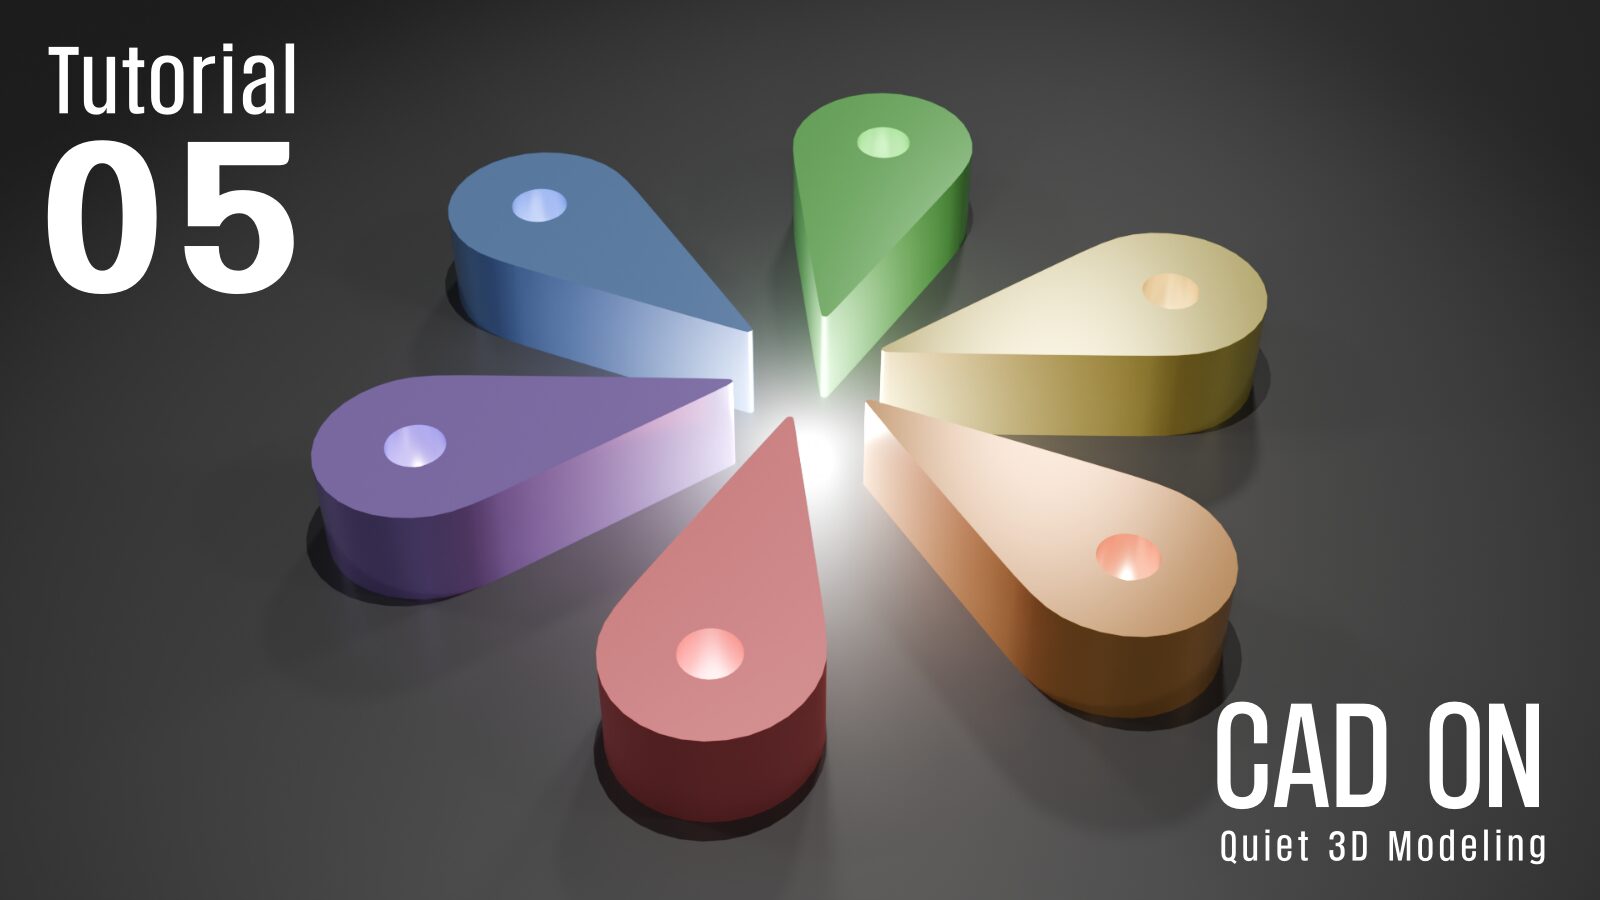
This is the fifth tutorial in the CAD ON Quiet 3D Modeling series.
Quiet 3D Modeling 05 focuses on constructing a clean and precise mechanical link arm form using controlled CAD workflows.
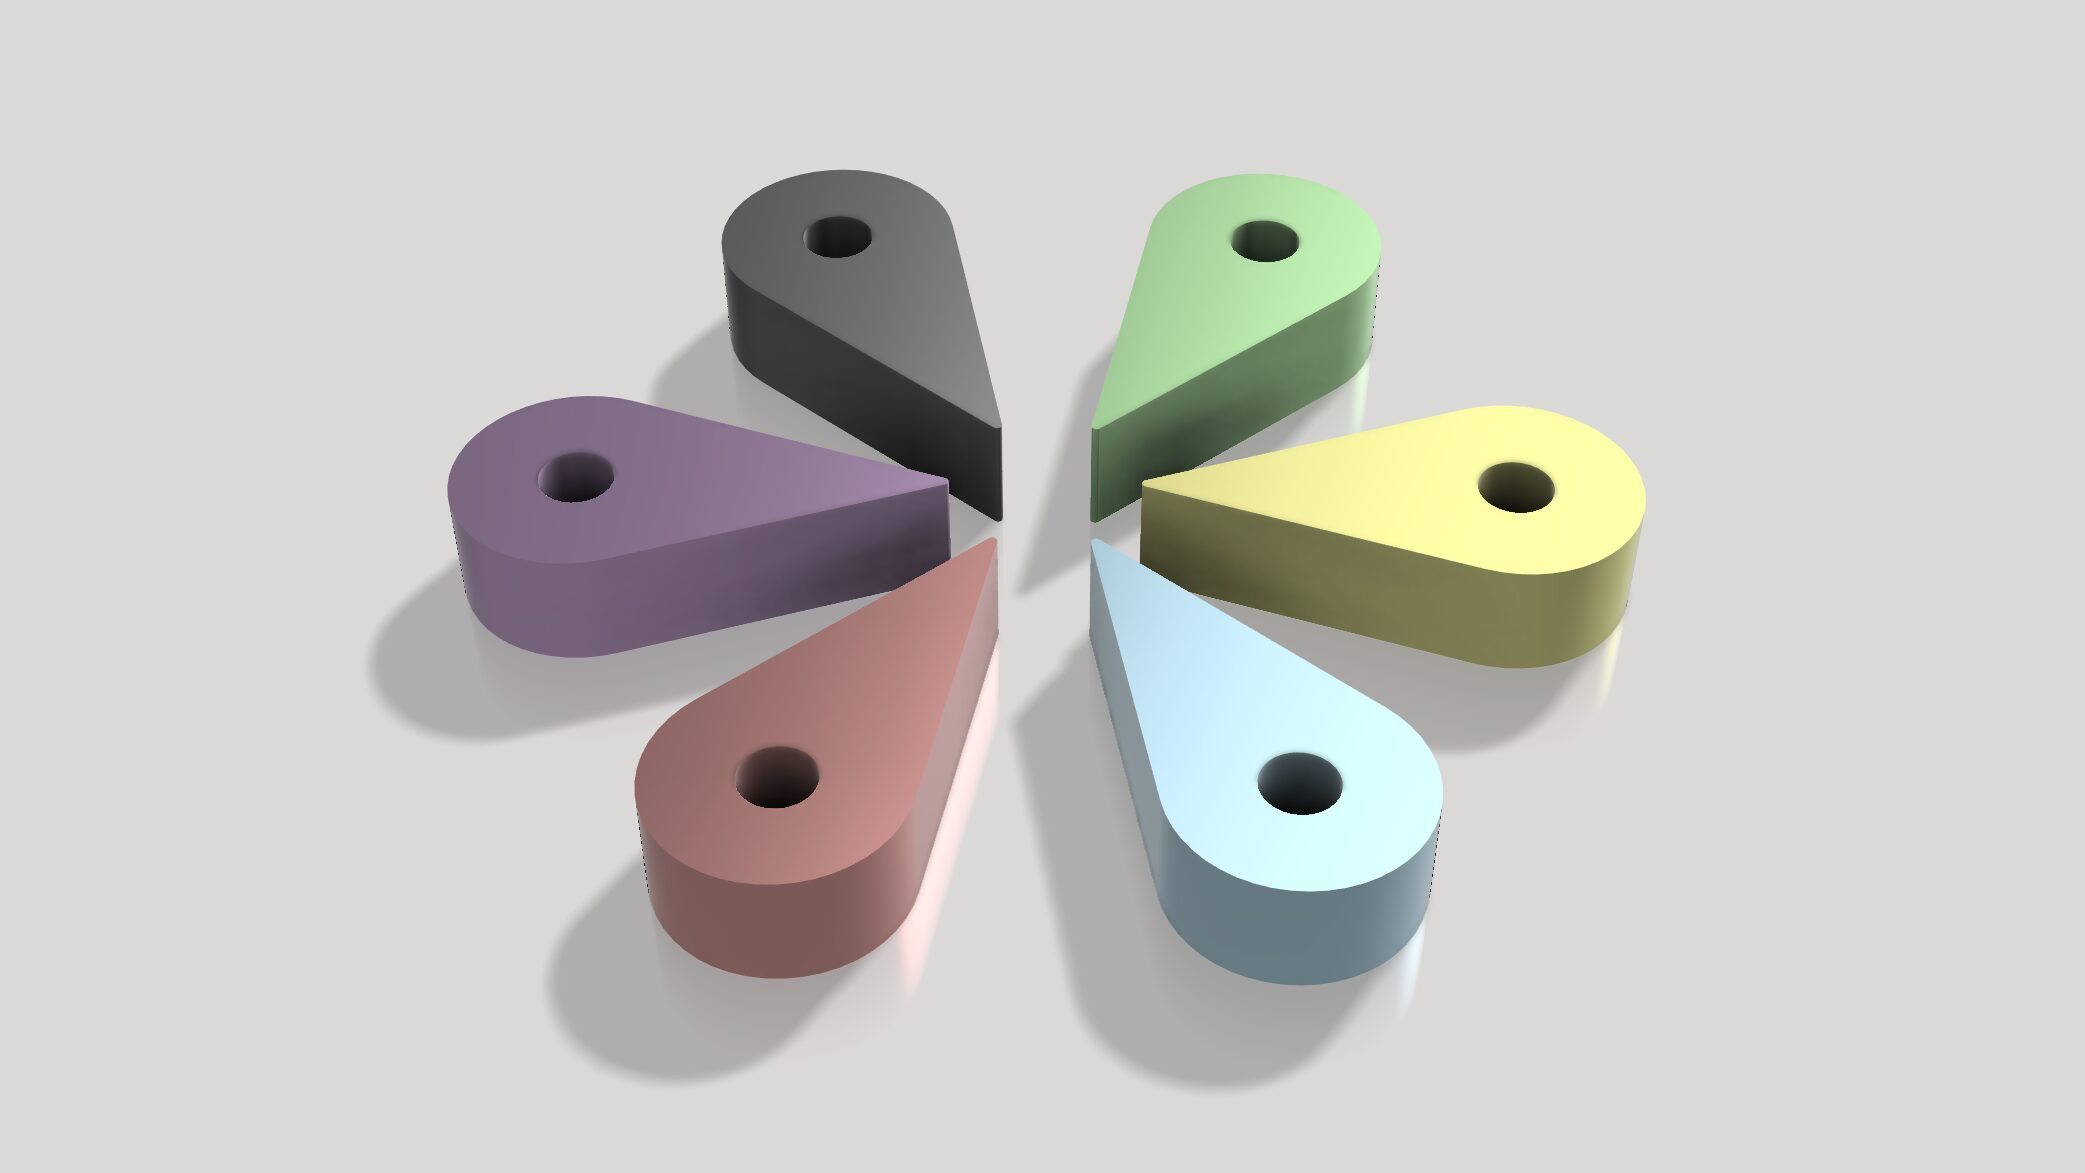
Using a mechanical link arm as the reference model, this tutorial demonstrates how the same shape is created in both Blender and Fusion 360, with an emphasis on clean topology, Boolean-free circular holes, edge-slide refinement, and calm step-by-step modeling.
In the Blender version, this tutorial is useful for practicing the following techniques.
- Clean circular holes without Boolean
- Creating holes using Bridge Edge Loops
- Edge slide workflow for topology control
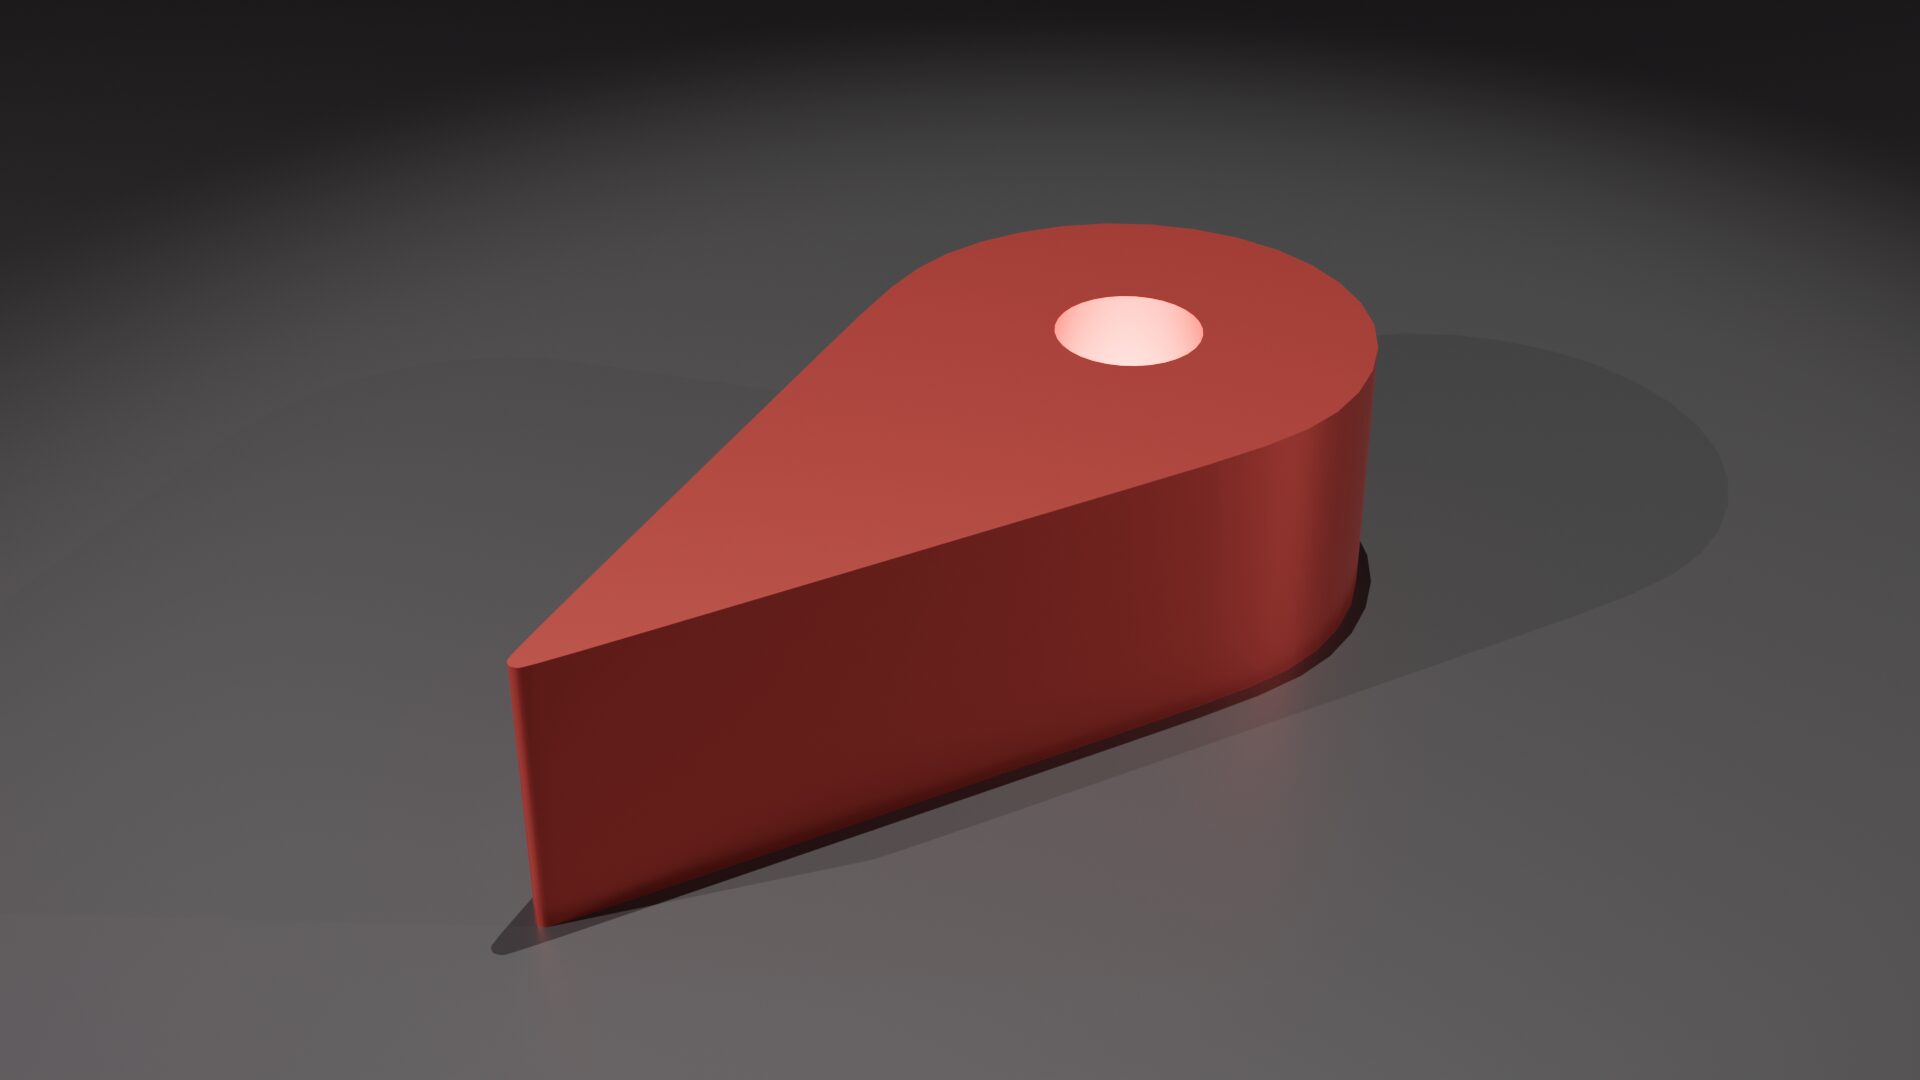
- Mechanical link arm form construction
- Circular cutting using Knife Project
- Grid-based precise modeling
- Sharp edges using Crease & Subdivision
CAD ON Quiet 3D Modeling シリーズの第5回チュートリアルです。
Quiet 3D Modeling 05 では、メカリンクアーム形状を題材に、制御されたCADワークフローによるクリーンで精密なモデリングを行います。
Blender と Fusion 360 の両方で同じ形状を制作しながら、クリーンなトポロジー構成、Booleanを使わない円形穴の作成、Edge Slideによる調整、そして落ち着いた制作フローに重点を置いて解説します。
本チュートリアル(Blender版)では、次のモデリング練習ができます。
- Booleanを使わない円形穴の作成
- Bridge Edge Loopsで穴生成
- Edge Slideを活用したトポロジー調整
- メカリンクアーム形状の作成
- Knife Projectによる円形カット
- グリッド基準の精密モデリング
- Crease+Subdivisionによるエッジ制御
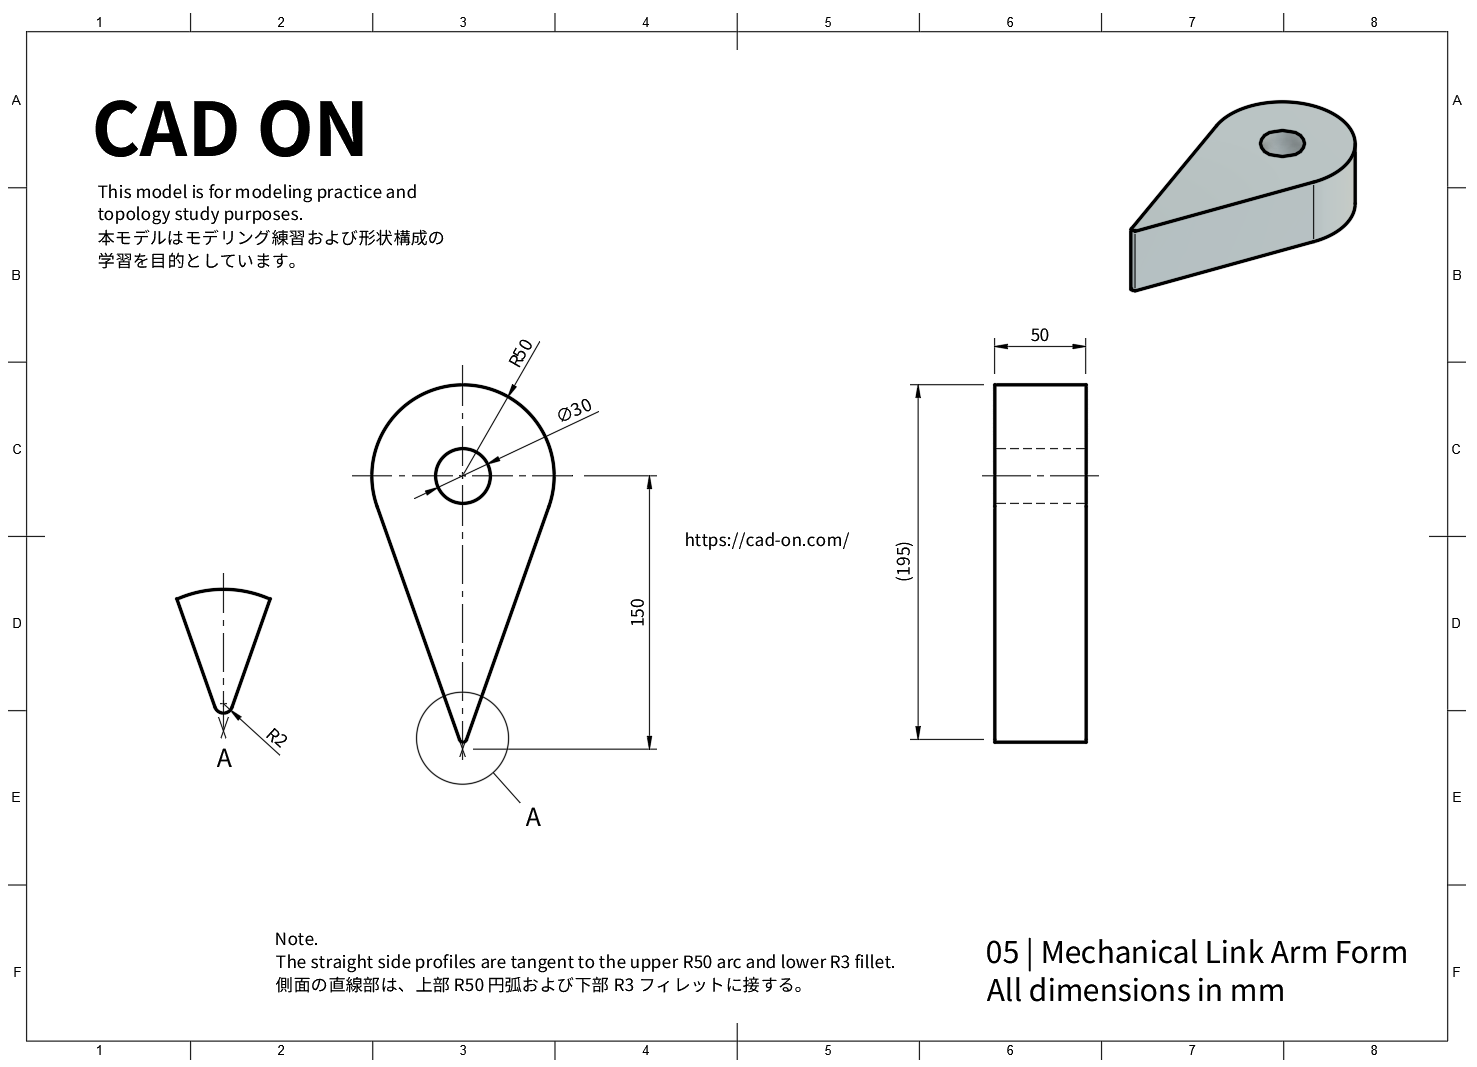
Drawing
Tutorial – Youtube
Fusion 360
Blender
Blender Modeling Flow
- Add a cylinder: Vertices 8, Radius 0.5, Depth 0.5
シリンダーを追加:頂点数 8、半径 0.5、深さ 0.5 - In Edit Mode, select the top and bottom faces and apply Poke Faces.
エディットモードで上面と下面を選択し、Poke Faces を適用します。 - Add a circle at the top center of the cylinder: Vertices 8, Radius 0.15
シリンダー上面の中心にサークルを追加:頂点数 8、半径 0.15 - Use Knife Project to cut circular edges on the top and bottom faces.
Knife Project を使用して、上面と下面に円形のエッジを作成します。 - Create round holes from the new edges using Bridge Edge Loops.
Bridge Edge Loops を使って円形の穴を作成します。 - Move one side vertex of the cylinder to form a corner (move the selected vertex by 15 grid units).
シリンダーの片側の頂点を移動して角を作ります(選択した頂点をグリッド15分移動)。 - Align both side faces.
両側面を整列します。 - Delete the center edges on the top and bottom faces.
上面と下面の中央エッジを削除します。 - Add loop cuts on both side faces at -0.95 and 0.95
両側面にループカットを作成します(-0.95、0.95)。 - Use Knife to connect loop-cut edges across the top and bottom faces.
Knife を使って、上面と下面でループカット同士をつなぐエッジを作成します。 - Move the new edges downward by 2 grid units.
作成したエッジを下方向にグリッド2分移動します。 - Delete corner faces and recreate the necessary faces.
角部分のフェイスを削除し、必要な面を作り直します。 - Select the two corner edges and apply Bevel.
角の両側のエッジを選択し、ベベルを適用します。 - Select edges to sharpen and set Edge Crease to 1
シャープにしたいエッジを選択し、Edge Crease を 1 に設定します。 - In Object Mode, apply Subdivision Surface at level 2
オブジェクトモードで Subdivision Surface をレベル2で適用します。 - Enable Shade Auto Smooth.
Shade Auto Smooth を有効にします。
Quiet Modeling
Calm workflow, clear geometry
落ち着いたワークフローで、正確な形をつくる


Comment