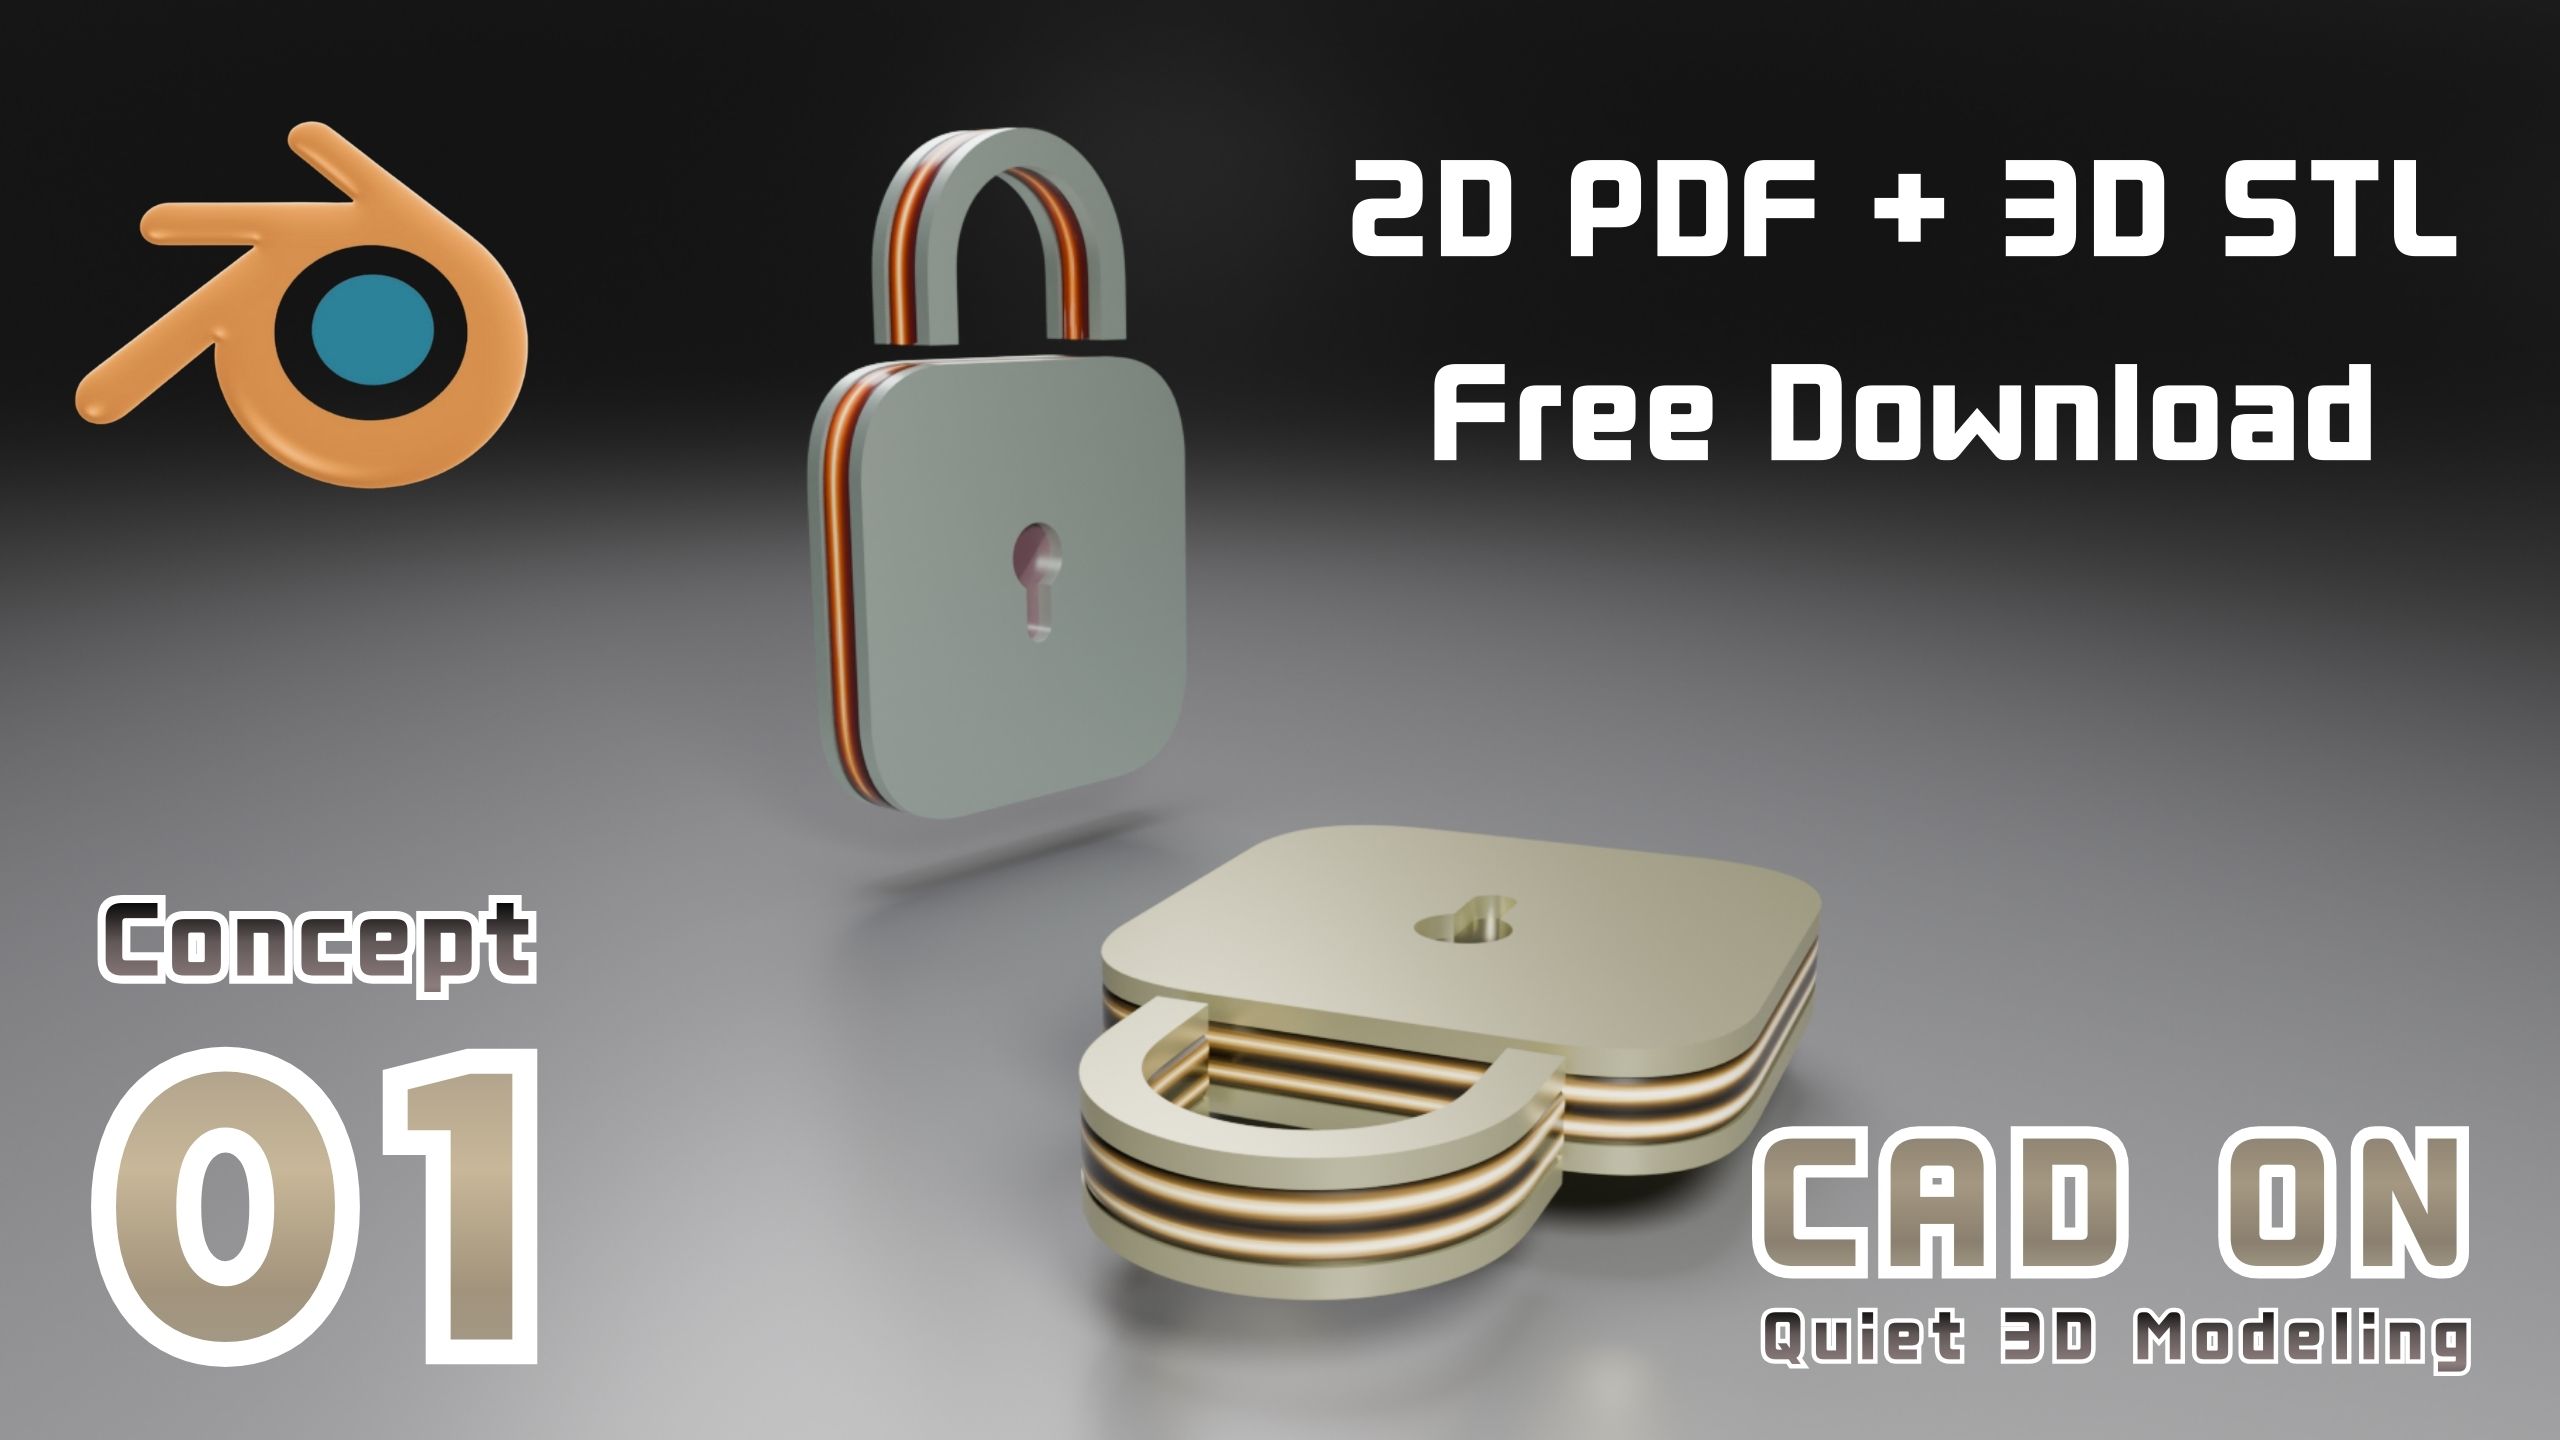
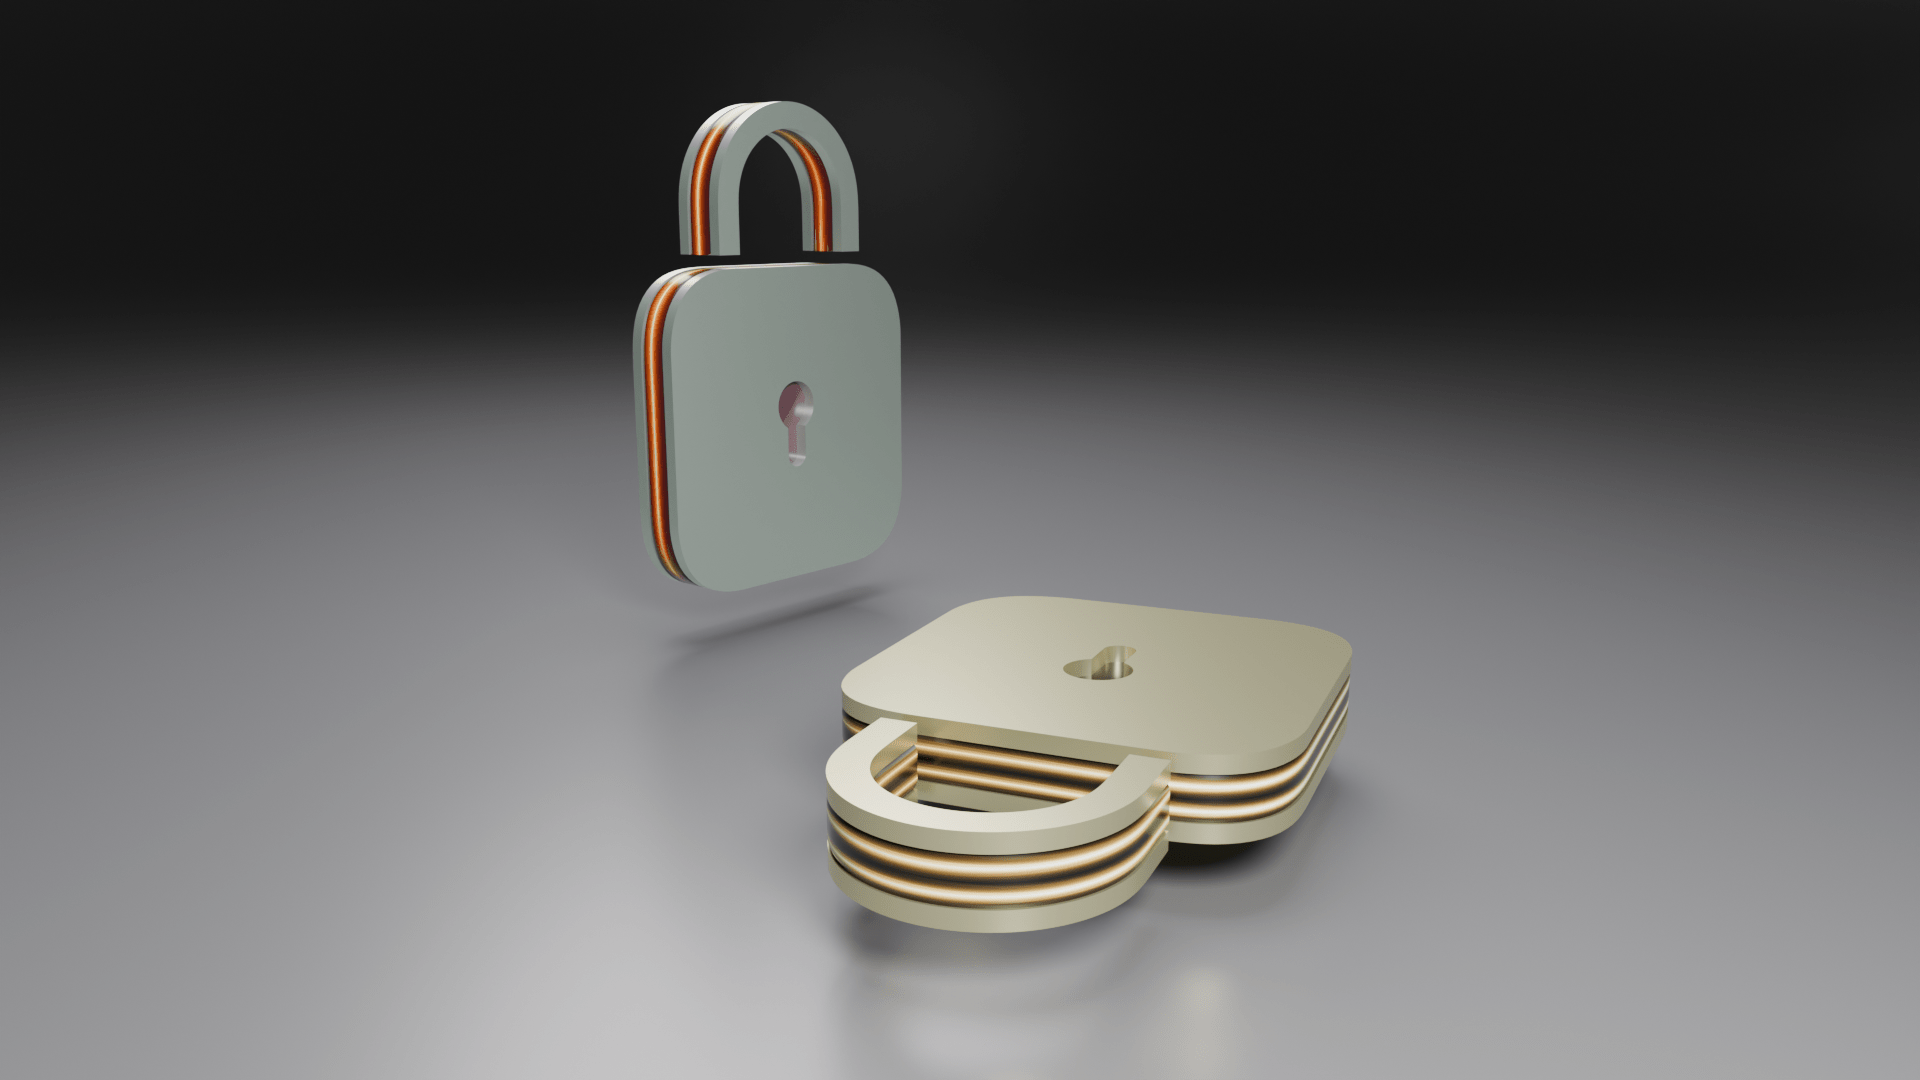
Concept Overview
A simple mechanical lock concept designed for Blender beginners.
Blender 初心者のために設計された、シンプルなメカニカルロックのコンセプトモデルです。
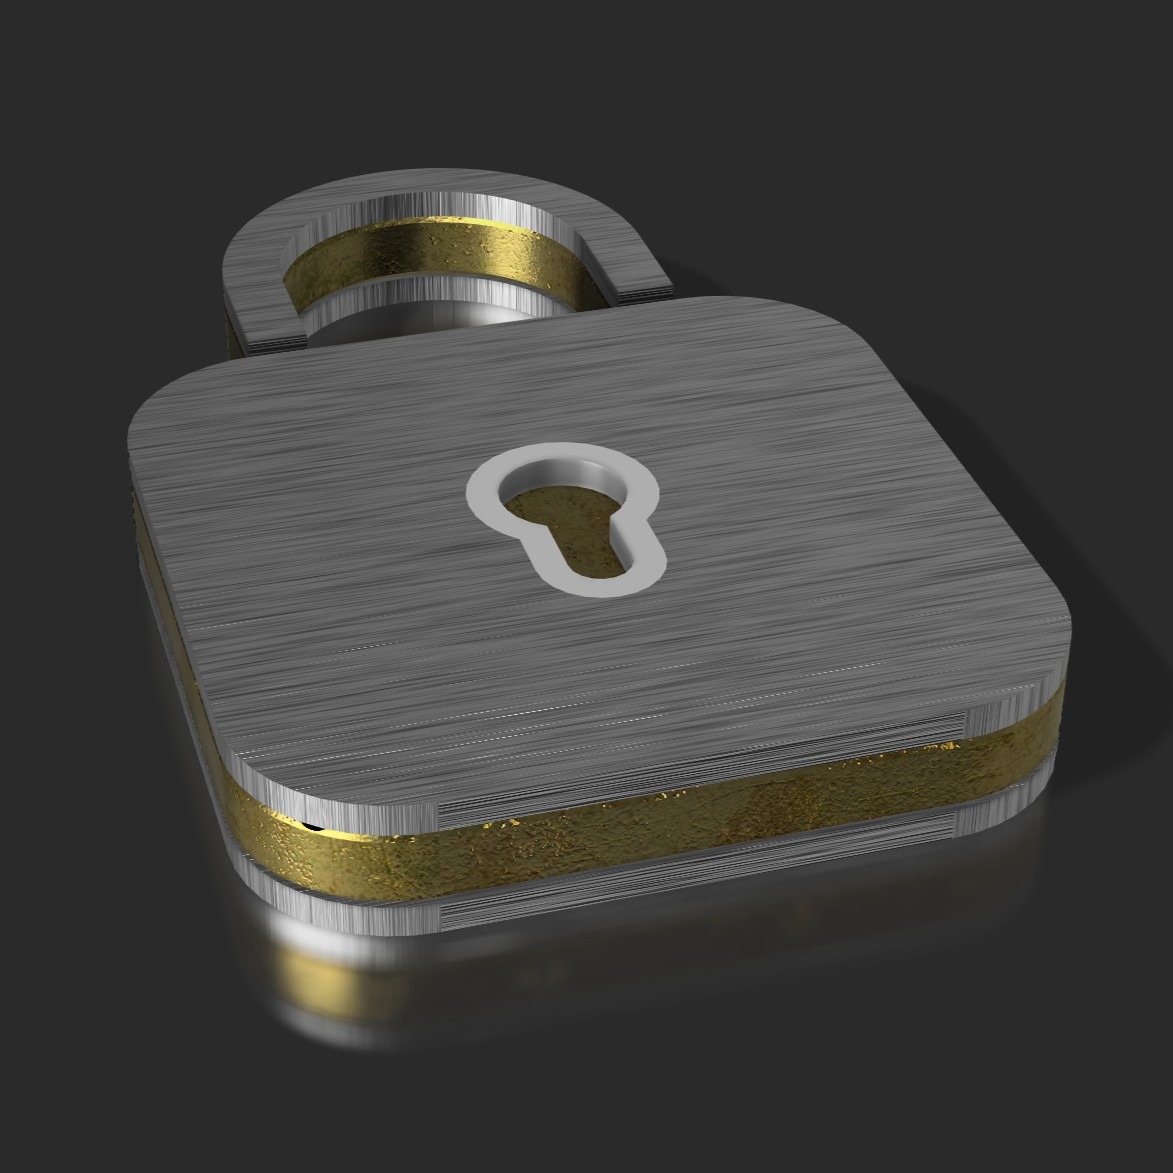
This model focuses on understanding basic hard-surface modeling workflow and clean topology structure in Blender.
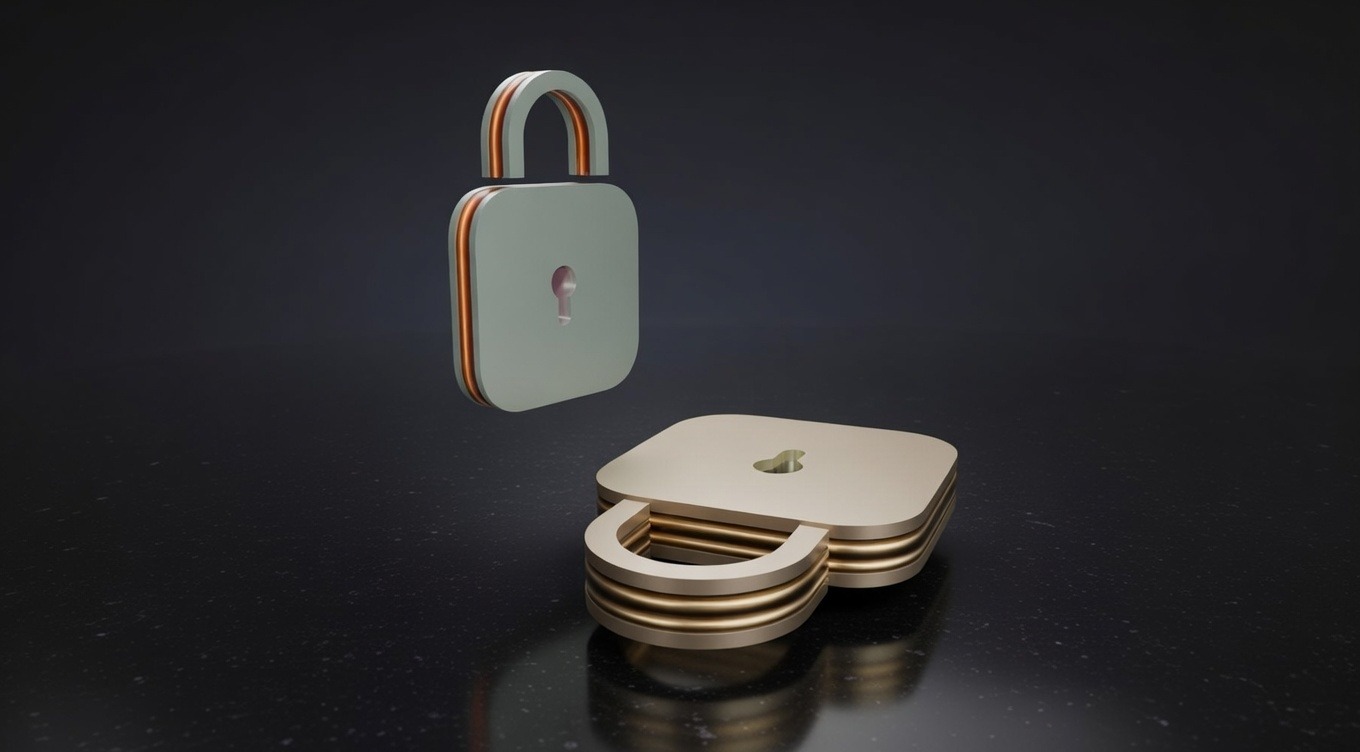
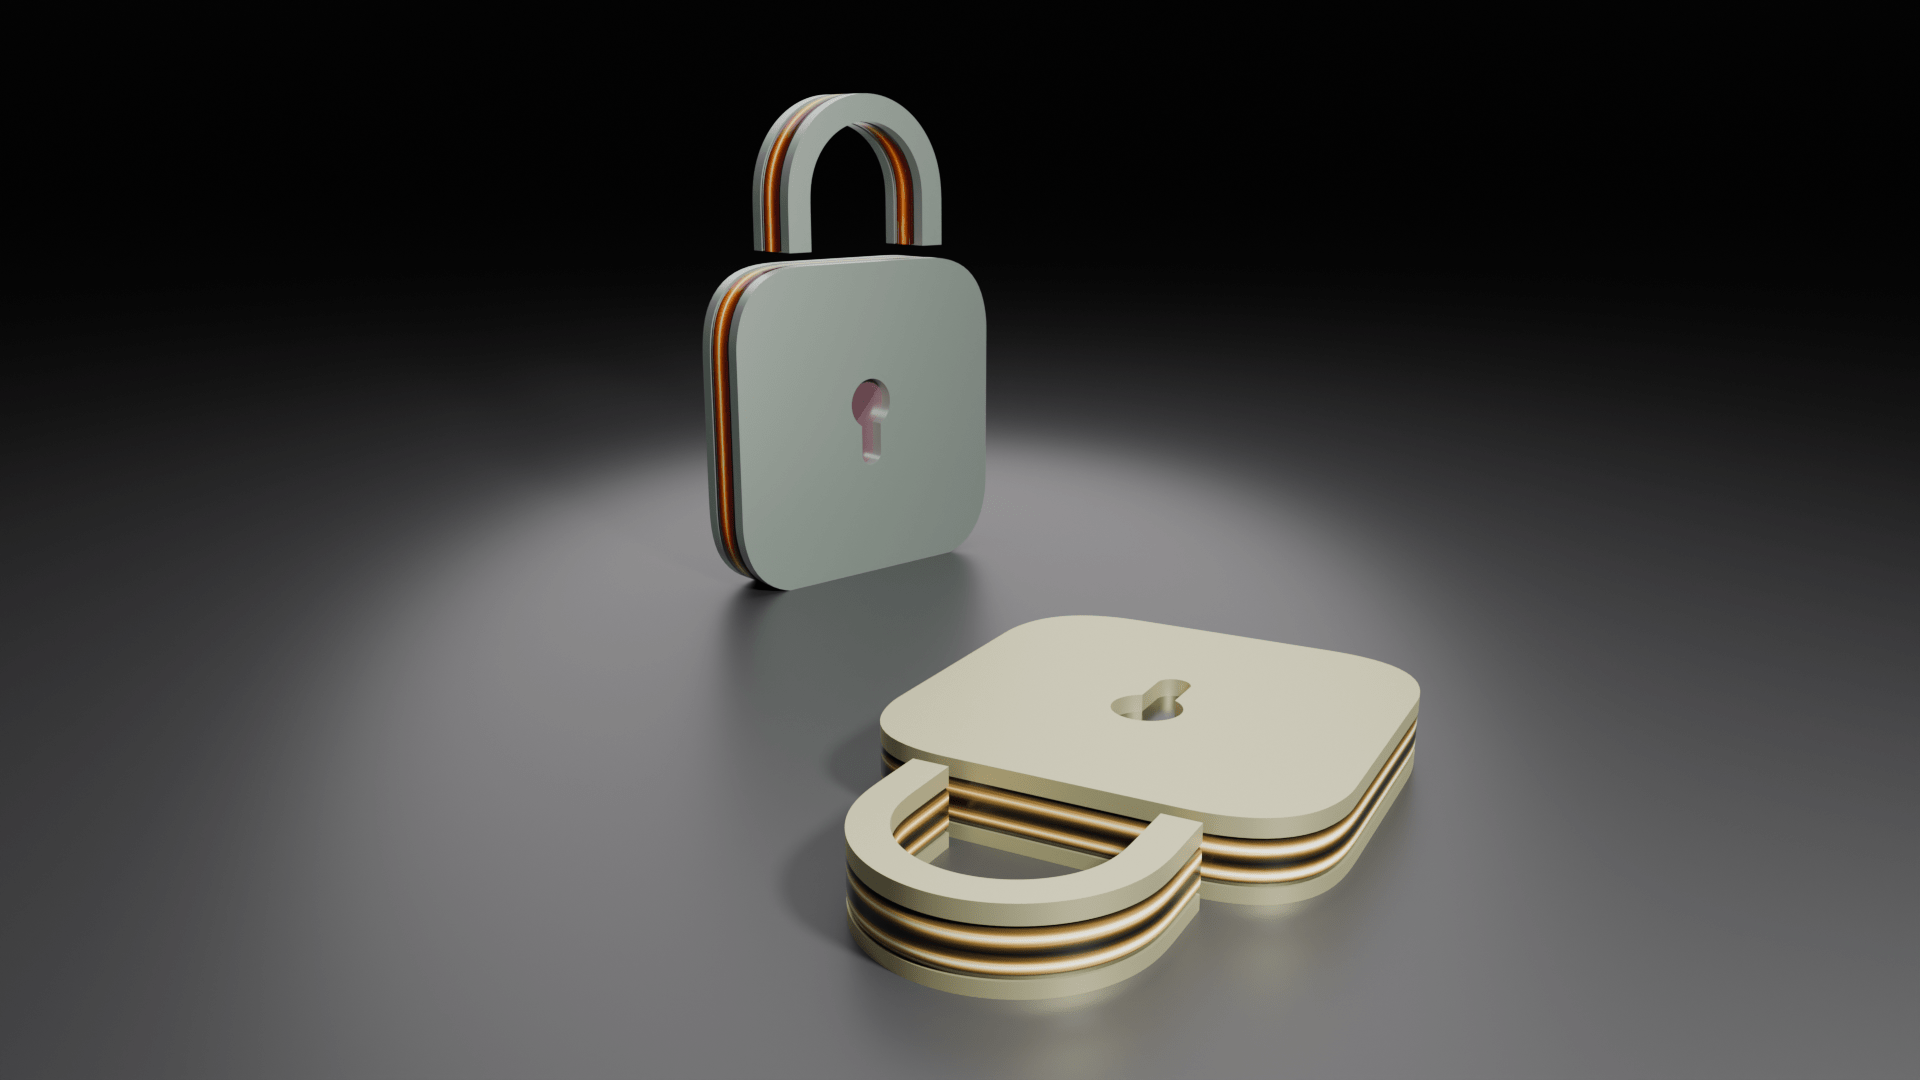
The design consists of a simple outer block form and a stylized internal locking structure, allowing beginners to practice essential techniques such as precise modeling, bevel control, subdivision workflow, and object organization.
It is created not only as a modeling exercise, but also as a concept structure that can be exported as 2D drawings and 3D STL files for further learning or 3D printing practice.
このモデルは、Blenderにおける基本的なハードサーフェスモデリングのワークフローと、クリーンなトポロジー構成の理解を目的としています。
デザインはシンプルな外形ブロックとスタイライズされた内部ロック構造で構成されており、正確なモデリング、ベベル調整、サブディビジョンワークフロー、オブジェクト整理などの基本技術を練習できます。
このモデルはモデリング練習用としてだけでなく、学習や3Dプリント練習のために2D図面および3D STLファイルとして書き出せるコンセプト構造としても制作されています。
View
3D View
2D Drawing
PNG

Modeling Workflow
Practice Focus
- Bevel (Profile Control)
- Loop Cut for Topology Refinement
- Edge & Vertex Snap
- Knife Project
- Bridge Edge Loops
- Edge Crease
- Subdivision + Shade Auto Smooth
- ベベル(プロファイル調整)
- ループカットによるトポロジ整理
- エッジ/バーテックススナップ
- ナイフプロジェクト
- ブリッジエッジループ
- エッジクリース
- サブディビジョン+Auto Smooth
Design Step
1 Shackle Base Modeling
- Add Circle (32 vertices, radius 0.15, Y = 0.6)
- Enter Edit Mode → Fill Face
- Inset 0.04 → Delete inner face
- Delete lower half faces
- Select remaining half → Extrude Face 0.02
- Select cross section → Extrude Face 0.08
- Add Loop Cuts for topology refinement
2 Lock Body Base Modeling
- Add Plane (Size: 0.5, Location Y: 0.25)
- Extrude Face 0.02
- Add Loop Cuts
- Apply Bevel (width 0.1, segments 3, profile 0.5)
- Add loop cuts for clean topology.
3 Middle & Upper Body Construction
- Join Circle + Plane → Rename as Block 1
- Duplicate → Move Block 2 along Z by 0.02
- Scale Z (Resize Z: 2.5)
- Duplicate Block 1 → Rename Block 3
- Move Block 3 along Z by 0.07
4 Keyhole Creation (Top Block)
- Select Block 3 → Edit Mode
- Add Loop Cuts at keyhole position
- Add upper circle (Vertices: 16, Radius: 0.04)
- Add lower circle (Vertices: 10, Radius: 0.02)
- Delete 3 lower vertices
- Enable Edge Snap → Align lower circle to upper edge.
- Delete lower center vertex of upper circle
- Merge vertices (Merge at Last)
- Add surrounding Loop Cuts
- Separate selection (P → Selection)
- Knife Project
- Bridge Edge Loops to create through hole
- Refine topology with Loop Cuts
5 Block Joining & Final Edge Setup
- (Optional) Add chamfer to Block 2 edges
- Bevel (Segments: 1, Width: 0.003)
- Join all 3 blocks
- Select sharp edges (Sharpness: 50°)
- Apply Edge Crease 1.0
6 Subdivision + Shade Auto Smooth for final surface refinement.
1 シャックル(U字部)ベース作成
- サークル追加(頂点32、半径0.15、Y=0.6)
- 面生成
- インセット0.04 → 内側面削除
- 下半分の面削除
- 残り半円を押し出し0.02
- 断面押し出し0.08
- トポロジ整理のためループカット追加
2 本体ベース作成
- プレーン追加(サイズ0.5、Y=0.25)
- 押し出し0.02
- ループカット追加
- ベベル(幅0.1、セグメント3、プロファイル0.5)
- ベベル部のトポロジ整理
3 中間・上段ブロック作成
- サークル+プレーン結合 → Block 1
- 複製 → Z方向0.02移動
- Zスケール2.5
- Block 1複製 → Block 3
- Z方向0.07移動
4 キーホール作成
- Block 3 を選択 → 編集モード
- キーホール位置にループカットを追加
- 上側の円を追加(頂点数:16、半径:0.04)
- 下側の円を追加(頂点数:10、半径:0.02)
- 下側の頂点を3つ削除
- エッジスナップを有効化 → 下側の円を上側エッジに合わせる
- 上側の円の下中央頂点を削除
- 頂点をマージ(Merge at Last)
- 周囲にループカットを追加
- 選択部分を分離(P → Selection)
- Knife Project
- Bridge Edge Loops で貫通穴を作成
- ループカットでトポロジーを整える
5 ブロック結合・エッジ設定
- (オプション)Block 2 エッジに面取り
- Bevel(セグメント:1、幅:0.003)
- 3ブロック結合
- シャープエッジ50°
- エッジクリース1.0
6 サブディビジョンとAuto Smoothによる最終表面調整
STL Download
Free STL Download
Practice this model yourself
This STL file is based on the original Fusion 360 concept model.
It has not been physically tested and is intended for learning and concept practice.
このSTLファイルは、オリジナルのFusion 360コンセプトモデルから書き出したものです。
実機テストは行っておらず、CAD環境で設計されたコンセプトモデルです。
YouTube Tutorial
Background Music
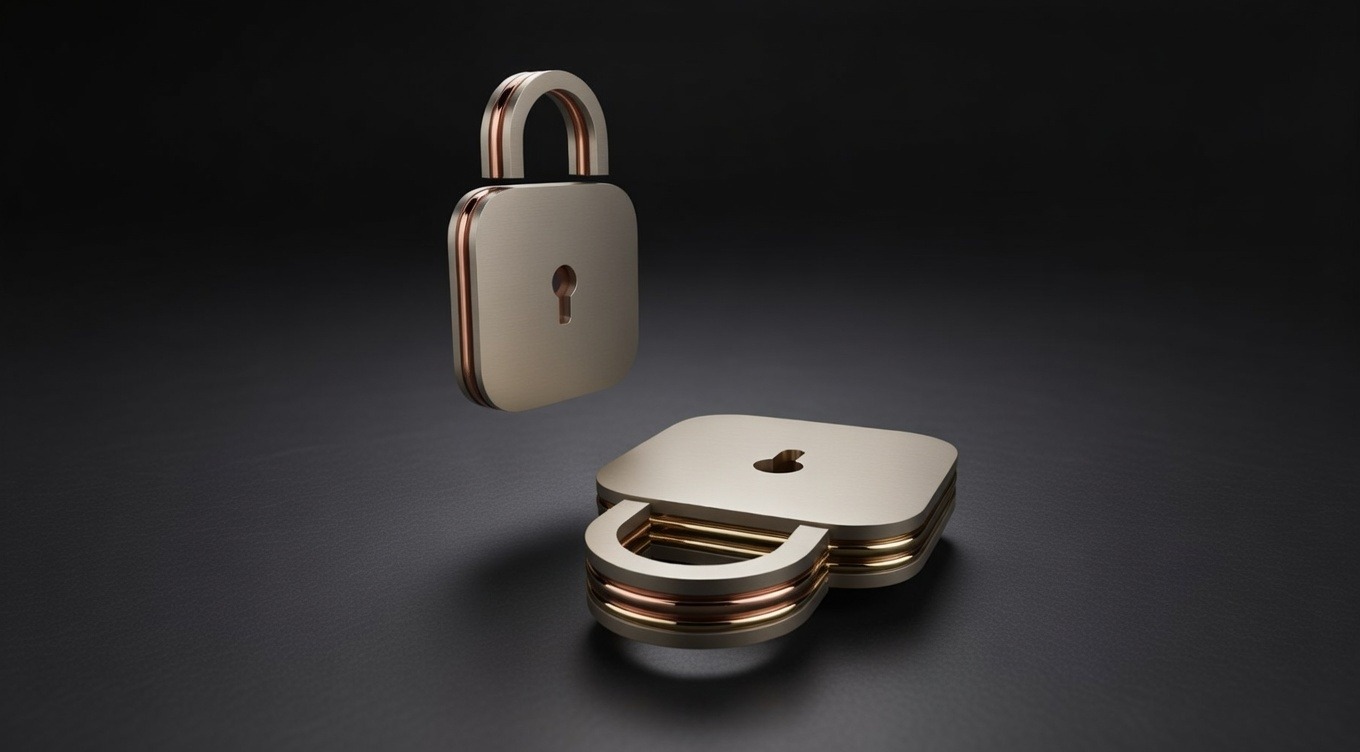
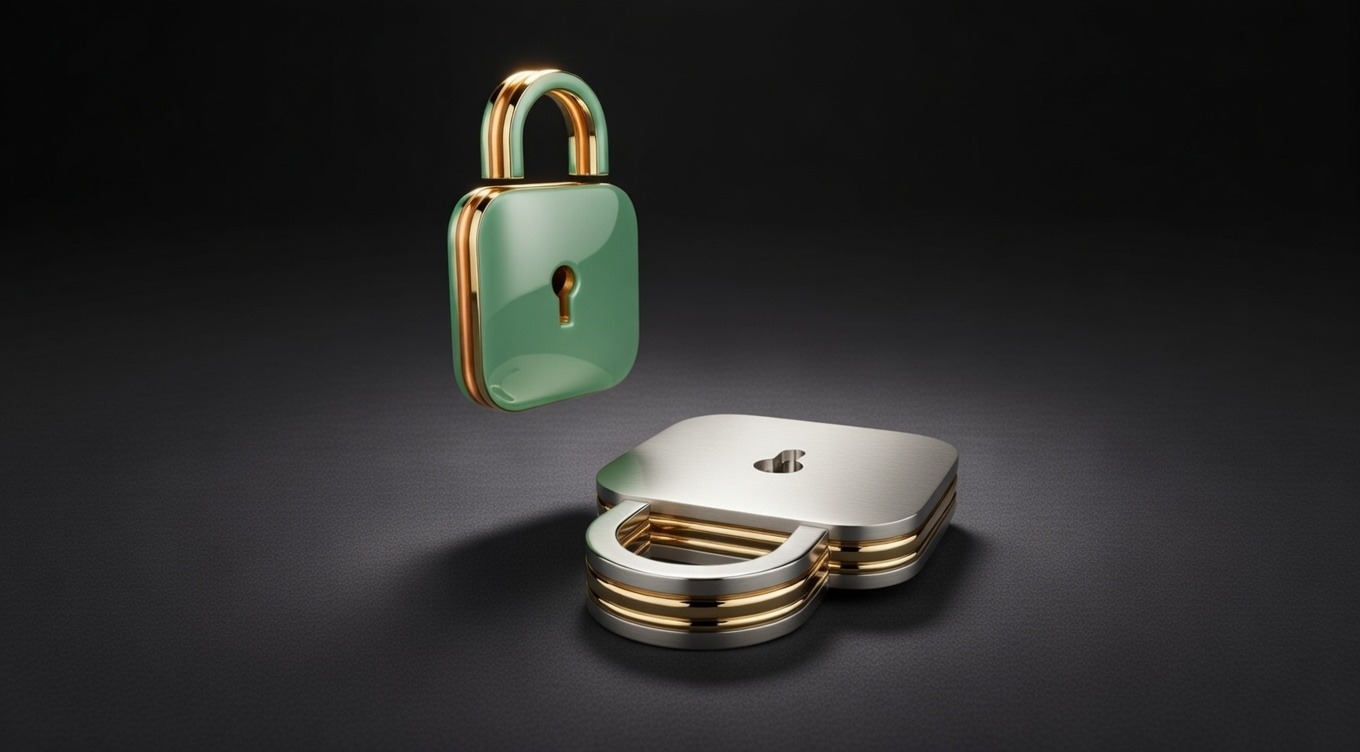
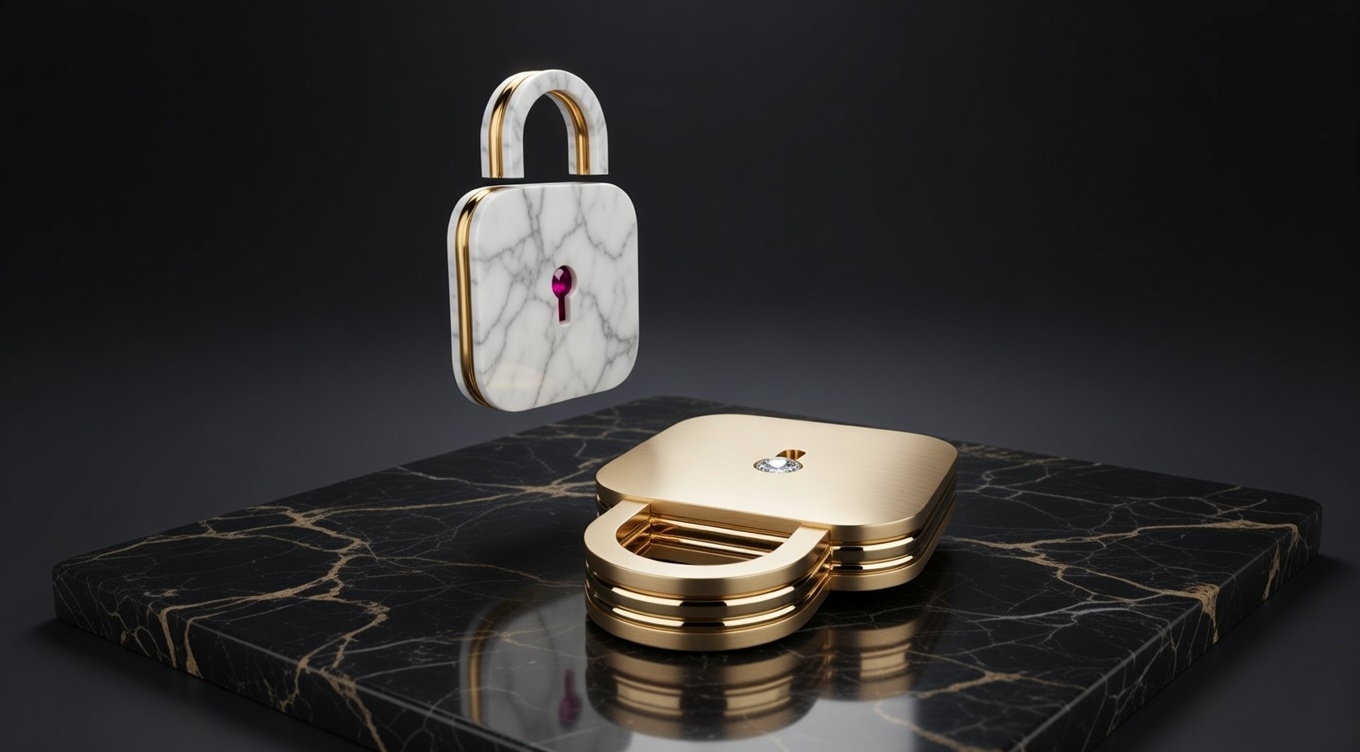
Render Gallery
Design Insight
Simple form, clear function, and structured workflow — a foundational mechanical concept for beginners.
Quietly and Precisely Shaping the World Through Modeling
静かに、そして正確に、モデリングで世界を描く
조용히 그리고 정밀하게 모델링으로 세상을 그리다
Comment